Low battery
Battery level is below 20%. Connect charger soon.
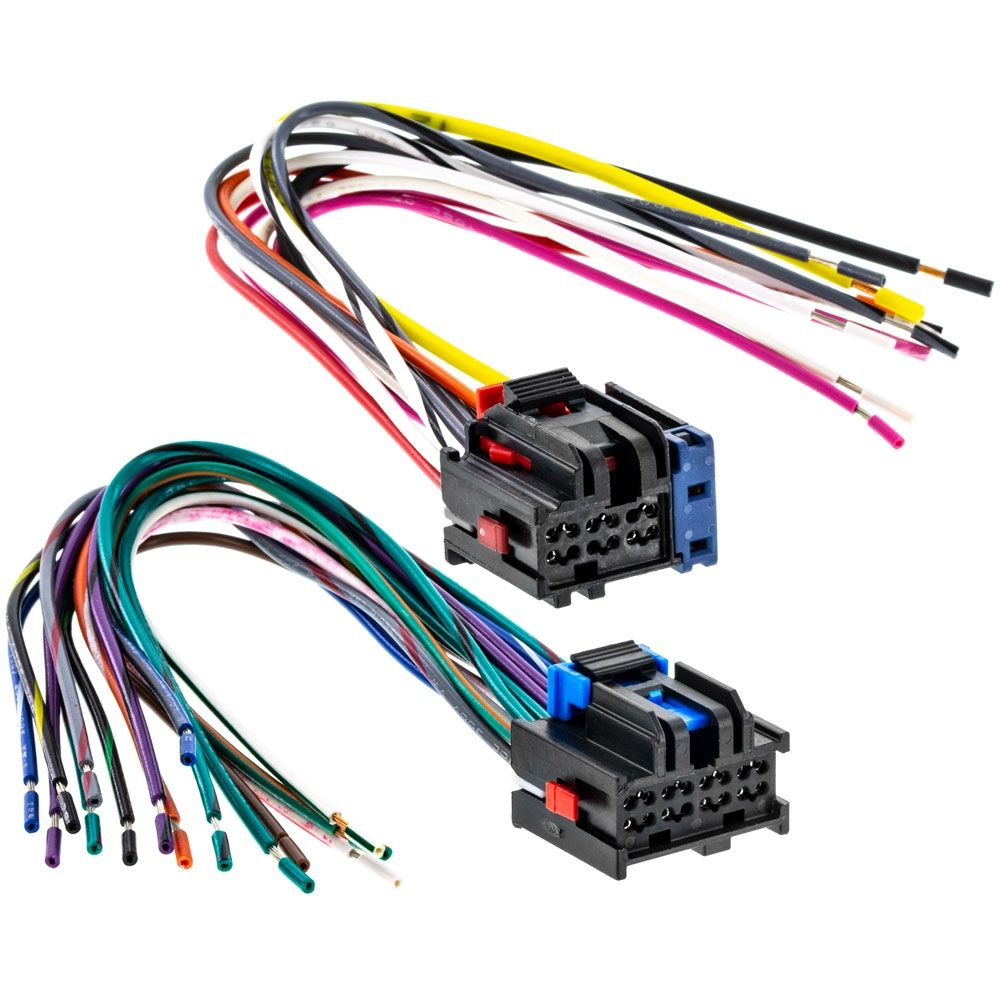


Saturn Wiring Harness Diagram – Quick Reference for Repairs
Is your Saturn exhibiting electrical gremlins? Lights flickering, the radio cutting out, or perhaps the engine refusing to start? More often than not, the culprit lies within the intricate network of wires that power your vehicle – the wiring harness. Understanding and utilizing a Saturn wiring harness diagram is crucial for diagnosing and resolving electrical issues efficiently and safely. This guide provides a quick reference to help you navigate the complexities of your Saturn’s electrical system, ensuring you can tackle repairs with confidence.
Why You Need a Saturn Wiring Harness Diagram
A wiring harness diagram is essentially a roadmap of your Saturn’s electrical system. It visually represents the flow of electricity, identifying the location, color, and function of each wire and connector. Without it, troubleshooting electrical problems can quickly become a frustrating and time-consuming process. Here’s why a wiring diagram is essential:
- Precise Identification: Quickly identify the exact wires related to a specific component or system.
- Simplified Troubleshooting: Helps pinpoint the source of a problem, whether it’s a short circuit, open wire, or faulty connection.
- Component Location: Shows the location of fuses, relays, and other crucial electrical components.
- Safe Repairs: Minimizes the risk of damaging other components or creating new electrical issues.
- Cost-Effective: Reduces the time and expense associated with diagnosing and repairing electrical problems.
Finding the Right Saturn Wiring Harness Diagram for Your Vehicle
The key to successful repairs is having the correct diagram for your specific Saturn model and year. Here’s how to find the right one:
- Online Resources: Numerous websites offer digital wiring diagrams for various Saturn models, including:
- Repair Manual Websites: Chilton, Haynes, and Mitchell1 often provide detailed wiring diagrams as part of their repair manuals (usually subscription-based).
- Online Forums and Communities: Saturn-specific forums often have members who share wiring diagrams or links to them.
- Automotive Repair Websites: Some automotive repair websites may offer free or paid access to wiring diagrams.
- Service Manuals: Consider purchasing a dedicated service manual (e.g., Chilton or Haynes) for your Saturn. These manuals typically include comprehensive wiring diagrams.
- Dealership Service: Your local Saturn dealership may be able to provide or sell you the appropriate wiring diagram.
- Vehicle Identification Number (VIN): Make sure you use the VIN to ensure you are getting the correct diagram for your specific vehicle configuration (engine type, trim level, etc.).
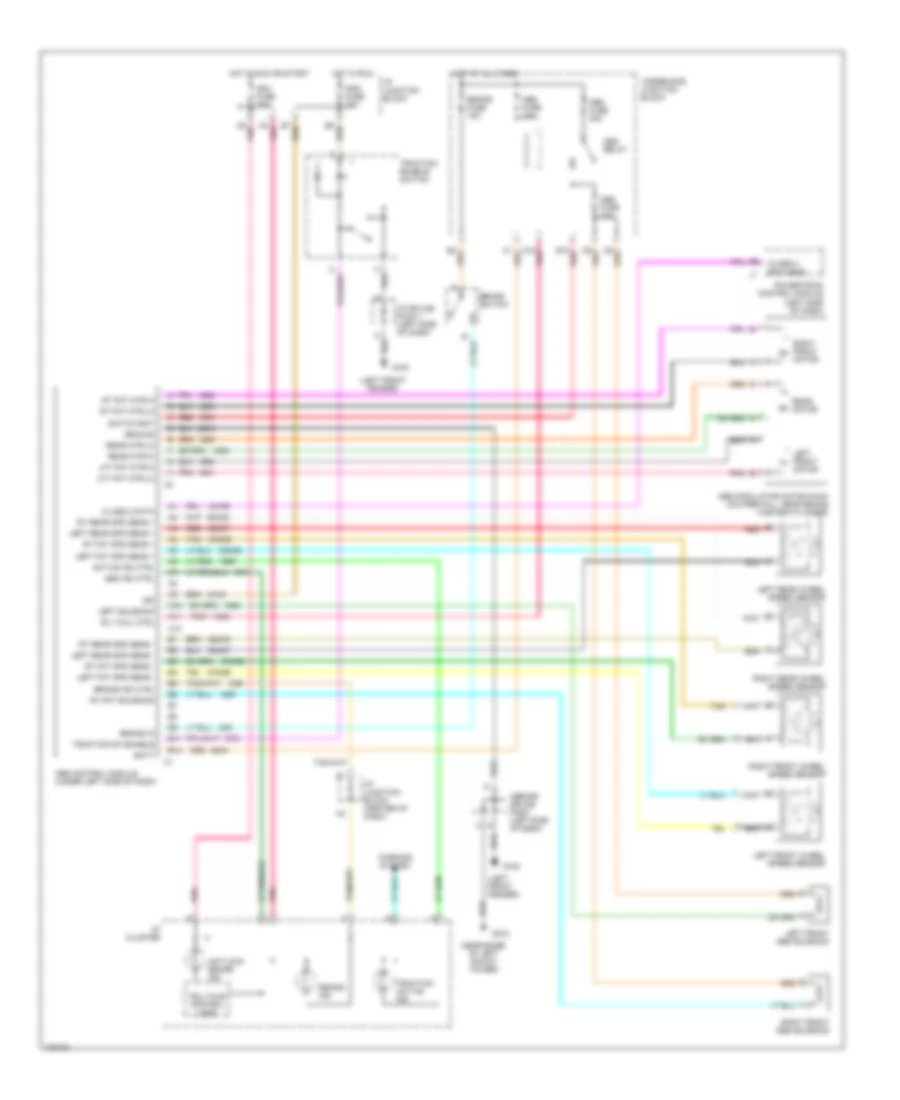
Decoding Your Saturn Wiring Diagram: A Quick Guide
Once you have your wiring diagram, it’s important to understand how to read it. Here are some key elements to look for:
- Component Symbols: Standard symbols represent different components, such as:
- Fuses: Represented by a small rectangle.
- Relays: Often depicted as a box with terminals.
- Connectors: Circles or squares with numbers indicating pin locations.
- Ground Points: Indicated by a symbol resembling an inverted triangle or a series of lines.
- Wire Colors: Each wire is typically color-coded to identify its function. Common colors include:
- B: Black
- W: White
- R: Red
- G: Green
- Y: Yellow
- BL: Blue
- BR: Brown
- O: Orange
- P: Pink
- Wire Gauges: The thickness of a wire (gauge) is often indicated on the diagram. This is important for selecting the correct replacement wire.
- Circuit Numbers: Circuits are often assigned numbers to help you identify and trace specific electrical paths.
- Connector Pinout: The diagram will show the pin layout of connectors, allowing you to identify which wires connect to which terminals.
Practical Tips for Using Your Saturn Wiring Harness Diagram
- Start Simple: Begin by identifying the affected circuit or component.
- Trace the Wires: Follow the wires from the component to the fuse box, relay, or other relevant connections.
- Check for Continuity: Use a multimeter to test for continuity (a complete electrical path) in the wires.
- Look for Shorts and Opens: Identify any wires that are shorted to ground or have a break in the circuit.
- Inspect Connectors: Examine connectors for corrosion, loose connections, or damaged pins.
- Use the Diagram as a Reference: Constantly refer to the diagram to confirm wire colors, connections, and component locations.
- Safety First: Always disconnect the negative battery cable before working on any electrical components.
- Label Connections: When disconnecting wires, label each connection to ensure you reconnect them correctly.
- Take Pictures: Document the process with photos to help you remember the original wiring configuration.
Conclusion: Empowering Your Saturn Repairs
A Saturn wiring harness diagram is an indispensable tool for anyone tackling electrical repairs on their vehicle. By understanding how to find, read, and utilize these diagrams, you can significantly improve your ability to diagnose and fix electrical problems, saving both time and money. Remember to always prioritize safety and take your time. With the right information and a little patience, you can keep your Saturn running smoothly for years to come.
Frequently Asked Questions (FAQs)
1. Where can I find a free Saturn wiring diagram?
While comprehensive free diagrams are rare, some online forums and automotive repair websites may offer limited access or partial diagrams. However, for detailed information, consider a subscription-based service or a repair manual.
2. What if I can’t find a diagram for my specific Saturn model and year?
Try searching for diagrams for the closest model year or trim level. You may find a diagram that covers most of the relevant components. If your Saturn shares components with another GM vehicle (like the Saturn L Series), search for that vehicle’s diagram.
3. What tools do I need to work with wiring diagrams?
You will need a multimeter, wire strippers/crimpers, electrical tape, and possibly a soldering iron. A good set of automotive tools is also useful.
4. What if I’m not comfortable working with electrical systems?
If you’re not confident in your abilities, it’s best to consult a qualified automotive technician. Incorrectly diagnosing or repairing electrical systems can lead to further damage or even safety hazards.
5. Are there any specific safety precautions I should take when working on Saturn’s electrical system?
Always disconnect the negative battery cable before working on electrical components. Wear safety glasses to protect your eyes. Be careful when handling wires and connectors, and avoid working in wet conditions. If you suspect a problem, consult a qualified technician.
